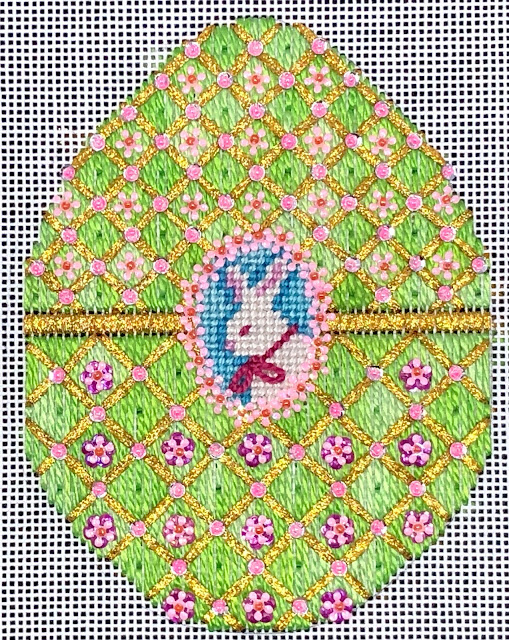
I have a new Freebie chart for you! This one is a companion piece to a Freebie I offered last year, you may remember my polka dot egg from 2022, click HERE to see that post.
This year's egg is much more elaborate, and I hope you'll enjoy stitching it. As usual, you can find the chart over on my website in the "Bonus Charts" category, or click HERE to go directly to the page.
Materials:
You'll need an 8 x 8 piece of 18 count Mono canvas. (I used plain white, it comes in colors and even with sparkles!)
Threads: I used a mix of Vineyard Silk and ThreadWorx Vineyard Overdye Silk, but this would be wonderful in Perle Cotton 5 as well. The one thread you would not want to substitute is the FyreWerks thread, the sparkle is amazing! My thread list is as follows:
ThreadWorks Vineyard Overdye V112 - Green
ThreadWorks Vineyard Overdye V1230 - Light Blue
Vineyard Silk C109 - White
Vineyard Silk C083 - Dark Blue
Vineyard Silk C173 - Light Pink
DMC PC5 601 - Dark Pink
FyreWerks Soft Sheen FT67 - Yellow Gold Metallic
For embellishments, I used two different styles of 5mm flower-shape sequins and a 3mm round silver metallic sequin, all of them attached with size 15 seed beads in bright pink and orange. The pink beads attach the silver sequins and the orange I used for the flowers. I get most of my sequins from Cartwright's, I've included the item numbers in my list below:
5mm Opaque Petite Flower in Pink - item # oPF62
5mm Satin Flower in Rose - item # B2-s5flwr20
3mm Fully Cupped Metallic Round in Silver - item # m3k20
Sundance Size 14 Bead Color 424 - Orange
Sundance Size 14 Bead Color 518B - PinkAll stitches are stitched with a single strand of thread. I recommend you start stitching at the top and work downwards. The chart shows the left hand side of the design, the other side is identical but flipped. I did chart the entire area around the bunny cameo for you as there is some variation there. I stitched all the diamond shapes first, then framed them with the FyreWerks, your chart shows an example of this on the top left. The silver sequins are attached in the hole of every corner of the diamond stitches using the pink bead.
The placement for the single daisy-shaped sequins are marked with bright pink dots, I placed these on the upper half of the egg and around the bunny cameo using the orange beads. On the lower half of the egg I layered a daisy sequin over the round flower shape, the placement of those are marked with a purple dot.
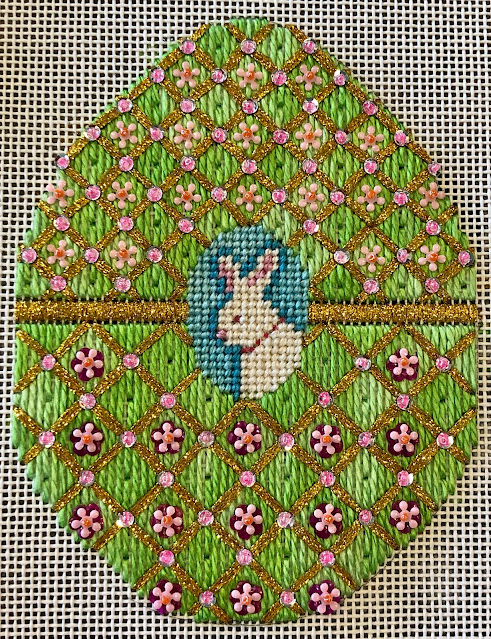
Here is a photo of the bunny before I added his embellishments:
The bunny is worked in simple Tent stitch with a single strand of thread. I did not chart the white stitches, all of the area that is blank is also Tent stitch with your white thread. I did a cross stitch for his nose and added a bow by making 2 lazy daisy stitches under his chin, the start and stop for these two stitches are marked on the chart with a red dot. I added the flower frame around him after all the stitching was completed.
This design is a little more complex than most of my Freebies, but I hope you will enjoy stitching it. Please do make it your own with your threads and as much or as little embellishing as you'd like. I'd love to see your photos of your creation! And please do contact me with any questions!